Table of Contents
Debugging
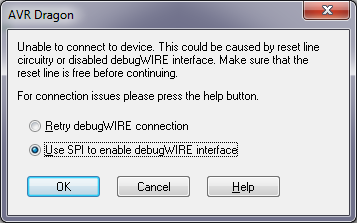
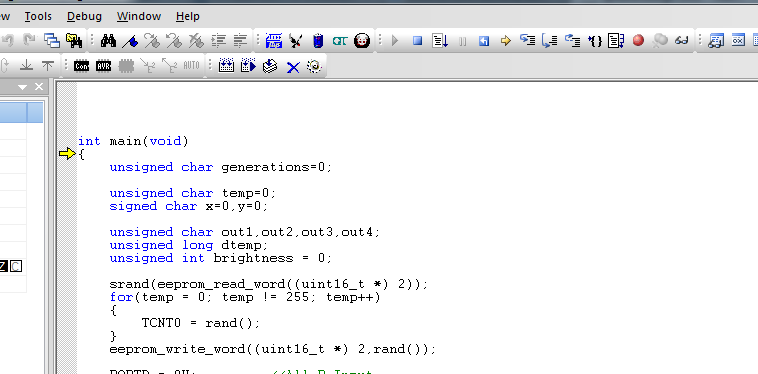
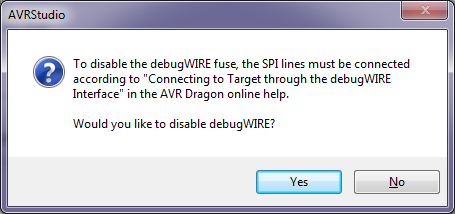
AVR Studio 4 wants to be in debugWire mode, connect and power the badge, load a project into AVR Studio 4, compile it. Then select Debug, the first time it'll error and ask to enable debugWire mode via SPI , do this, then remove power as per instructions from AVR Studio 4. It should then connect and stop at the main function.
Click <I>Use SPI to enable debugWIRE interface</I>
<Center>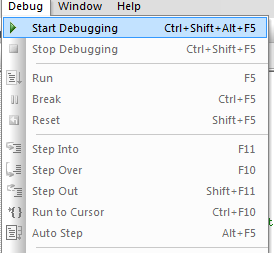
Cycle the power to the badge ( remove batteries ), Click <I>OK</I>
<Center>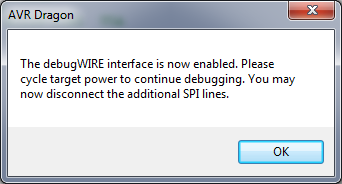
You should see something like this, if you don't make sure the power has been completely removed and reconnected.
Uploading Arduino Code
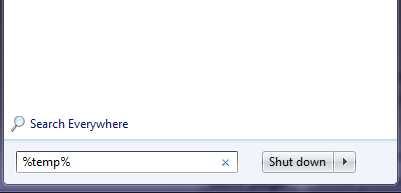
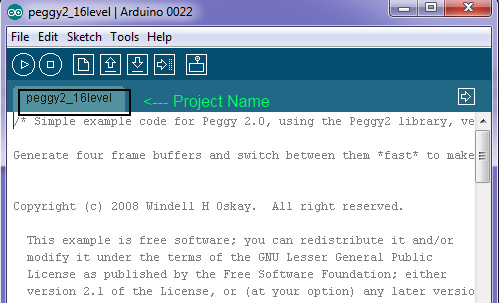
You can either patch into the serial pads ( two resistor 0R0 jumpers PD0/PD1 ) and upload with the arduino bootloader and IDE. Or you can just use the programmer to upload the HEX file the Arduino IDE creates. In Windows open up the TEMP folder ( go to the start/search programs and files, and type %TEMP%
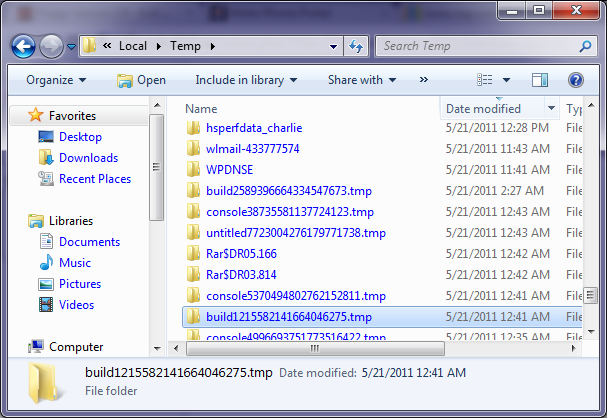
Windows will open an explorer window to the temp folder. Then look for the directories that are called build__something.tmp , usually it'll be “build1215582141664046275.tmp” but the number will different, look for the one with the most recent date.
Clicking on the <B>Date modified</B> column will make it easier to see which build folder is the most recent. Now enter that folder.
There should be a .hex file with a similar name as the Arduino Project.
<center><B>See highlighted</B></center>
<center>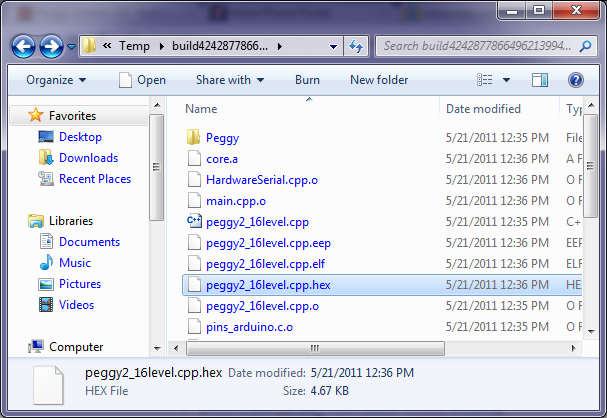
Now load AVR Studio 4 and use the NULLSpace Kraken usbasp tool with avrdude and program that hex file to the badge. I'll detail this on a different page. <I>Note: If you have the badge in debugWire mode, you must undo it before using a Dragon, or Kraken, othewise it will not work. See <B>Undoing debugWIRE mode</B> below</i>
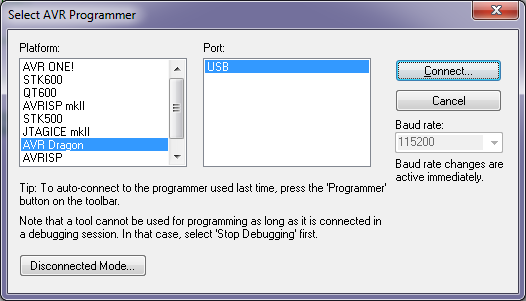
For the AVR Dragon etc use :- Select <I>Tools</I>, <I>Program AVR</I>, <I>Connect</I> for the first time or <I>Auto Connect</i> after the options are set.
Change your options as needed. Select <I>Connect</I>
<B>You can also use the small CON/AVR icons in the toolbar to connect/auto connect</B>
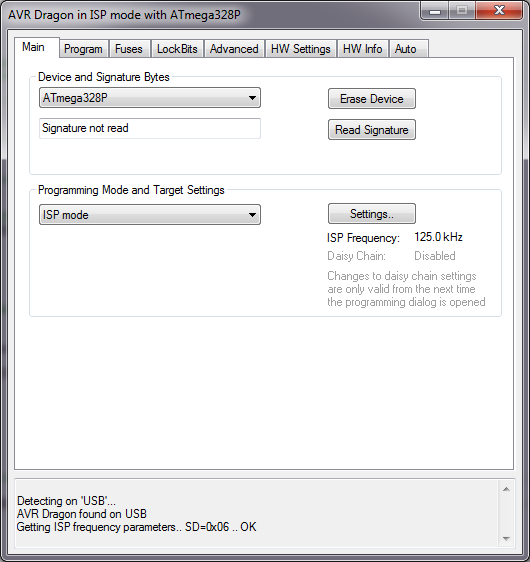
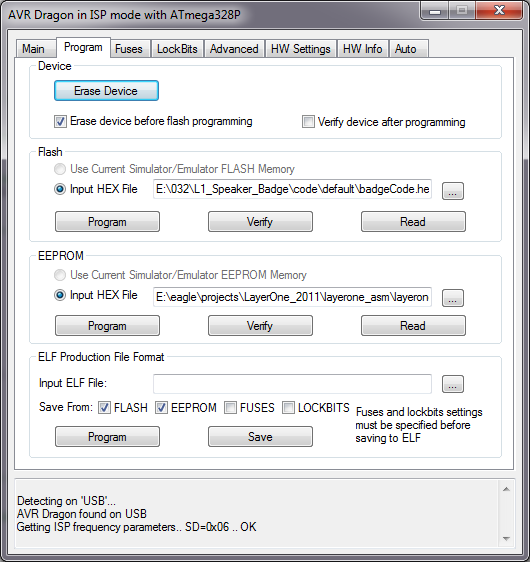
This should appear, change the options to match
Undoing debugWIRE mode
If you've been debugging the badge with a Dragon ( the Kraken/usbasp/etc can't debug ), you need to turn off debugWire before you can use the regular programming tools.
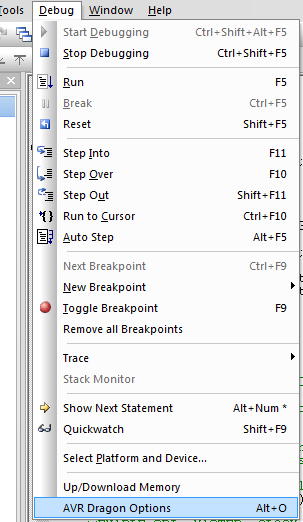
Open AVR Studio 4 with a suitable project, then Start debugging,I use <i>Reset</I> from the debug menu. Then look on the <I><U>D</U>ebug</I> menu for <I>AVR Dragon Options</I> <B>If the option is greyed out, then you're either not debugging, or the CPU isn't halted in single step mode, use <I>Reset</I> or <I>Break</I></B>
Now click <i>Disable debugWIRE</i>
<Center>
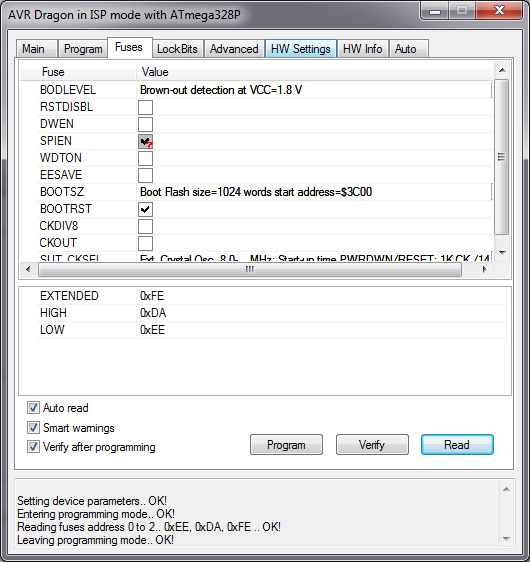
The badge should reset, and after 4 or so seconds, this should appear, click OK.
<Center>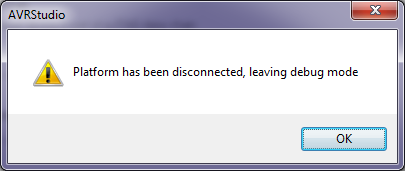
Finally click OK to get out of the AVR Options dialog.
debugWire mode is now disabled and you can use normal ISP programmers, but obviously not debug until you re-enable debugWire.

